Siser puff vinyl makes designs that pop up from clothing when heated. Start with basic designs and big letters, as these work best. Put the vinyl on your cutting mat with the shiny side up. Flip your design before cutting it with a Cricut or similar cutting machine. After peeling away the extra vinyl, heat your press to 280°F. Press the clothing for 3 seconds first to get rid of any water. Then put a heat sheet over your design and press down with medium force for 10 seconds. Peel off the backing right away while it's still hot - this helps the design puff up more. When done right and cared for well, your puffy designs will stay raised even after many washes.
Key Takeaways
- Place Siser Puff Vinyl shiny side up on cutting mat and always mirror design before cutting with Cricut machine.
- Set heat press temperature to 280°F and pre-press garment for 3 seconds to remove moisture.
- Use simple designs with thick letters for best puff results, avoiding intricate details or small text.
- Apply medium pressure for 10 seconds when heat pressing, then immediately peel backing while hot.
- Wash garments inside out in cold water and air dry to maintain the puff effect longer.
Getting Started With Puff Vinyl
Working with puff vinyl is easy when you follow the right steps. For best results, pick designs with thick letters and simple shapes - this helps the vinyl rise up nicely when heated.
Set up your cutting machine (like the Cricut Maker 3) using the Iron-On vinyl settings.
Put the puff vinyl on the cutting mat with its shiny side up, and flip your design backward before cutting. This way, it will face the right direction when pressed onto your fabric.
Heat your press to 280°F and press the garment quickly for 3 seconds to get rid of wrinkles and dampness.
Then press firmly for 10 seconds. Pull off the clear backing right away while it's still hot to get the best puffy effect.
Essential Tools and Materials
You need the right tools to do puff vinyl projects well. The most important tool is a cutting machine like the Cricut Maker 3, with a basic blade that makes clean cuts.
You'll also need a good cutting mat to hold the vinyl in place while cutting, making sure the shiny side is up.
To apply the heat, you'll want a heat press like the Cricut EasyPress. Getting the right heat level is key - it needs to be 280°F, so use a thermometer to check it.
Put a heat transfer sheet over your design to protect it when you press.
Don't forget a weeding tool, which helps you pull away the extra vinyl to make your designs look neat and clean.
Cutting Your Design
Before you start cutting, place your puff vinyl on the cutting mat with the shiny side facing up.
You can use masking tape to hold the vinyl in place so it doesn't move while cutting.
Set your Cricut machine to "Iron-On" mode for the best results.
While the Cricut Maker 3 works great, you can use any Cricut machine to cut puff vinyl.
Make sure to flip your design (mirror it) before cutting since you'll place the vinyl face-down on your clothing.
This step helps avoid backward designs and gives you clean, professional results.
Weeding and Transfer Preparation
Start weeding by removing extra vinyl carefully with a steady hand.
When working with Siser puff vinyl, keep the shiny side up and the matte side down on your cutting mat. Take off only the vinyl pieces you don't need to keep your design intact.
To get ready for transfer, make sure you place the design exactly where you want it. You can fold the garment or measure it to find the center.
Heat your press to 280°F and press the garment for 3 seconds first to get rid of moisture and wrinkles.
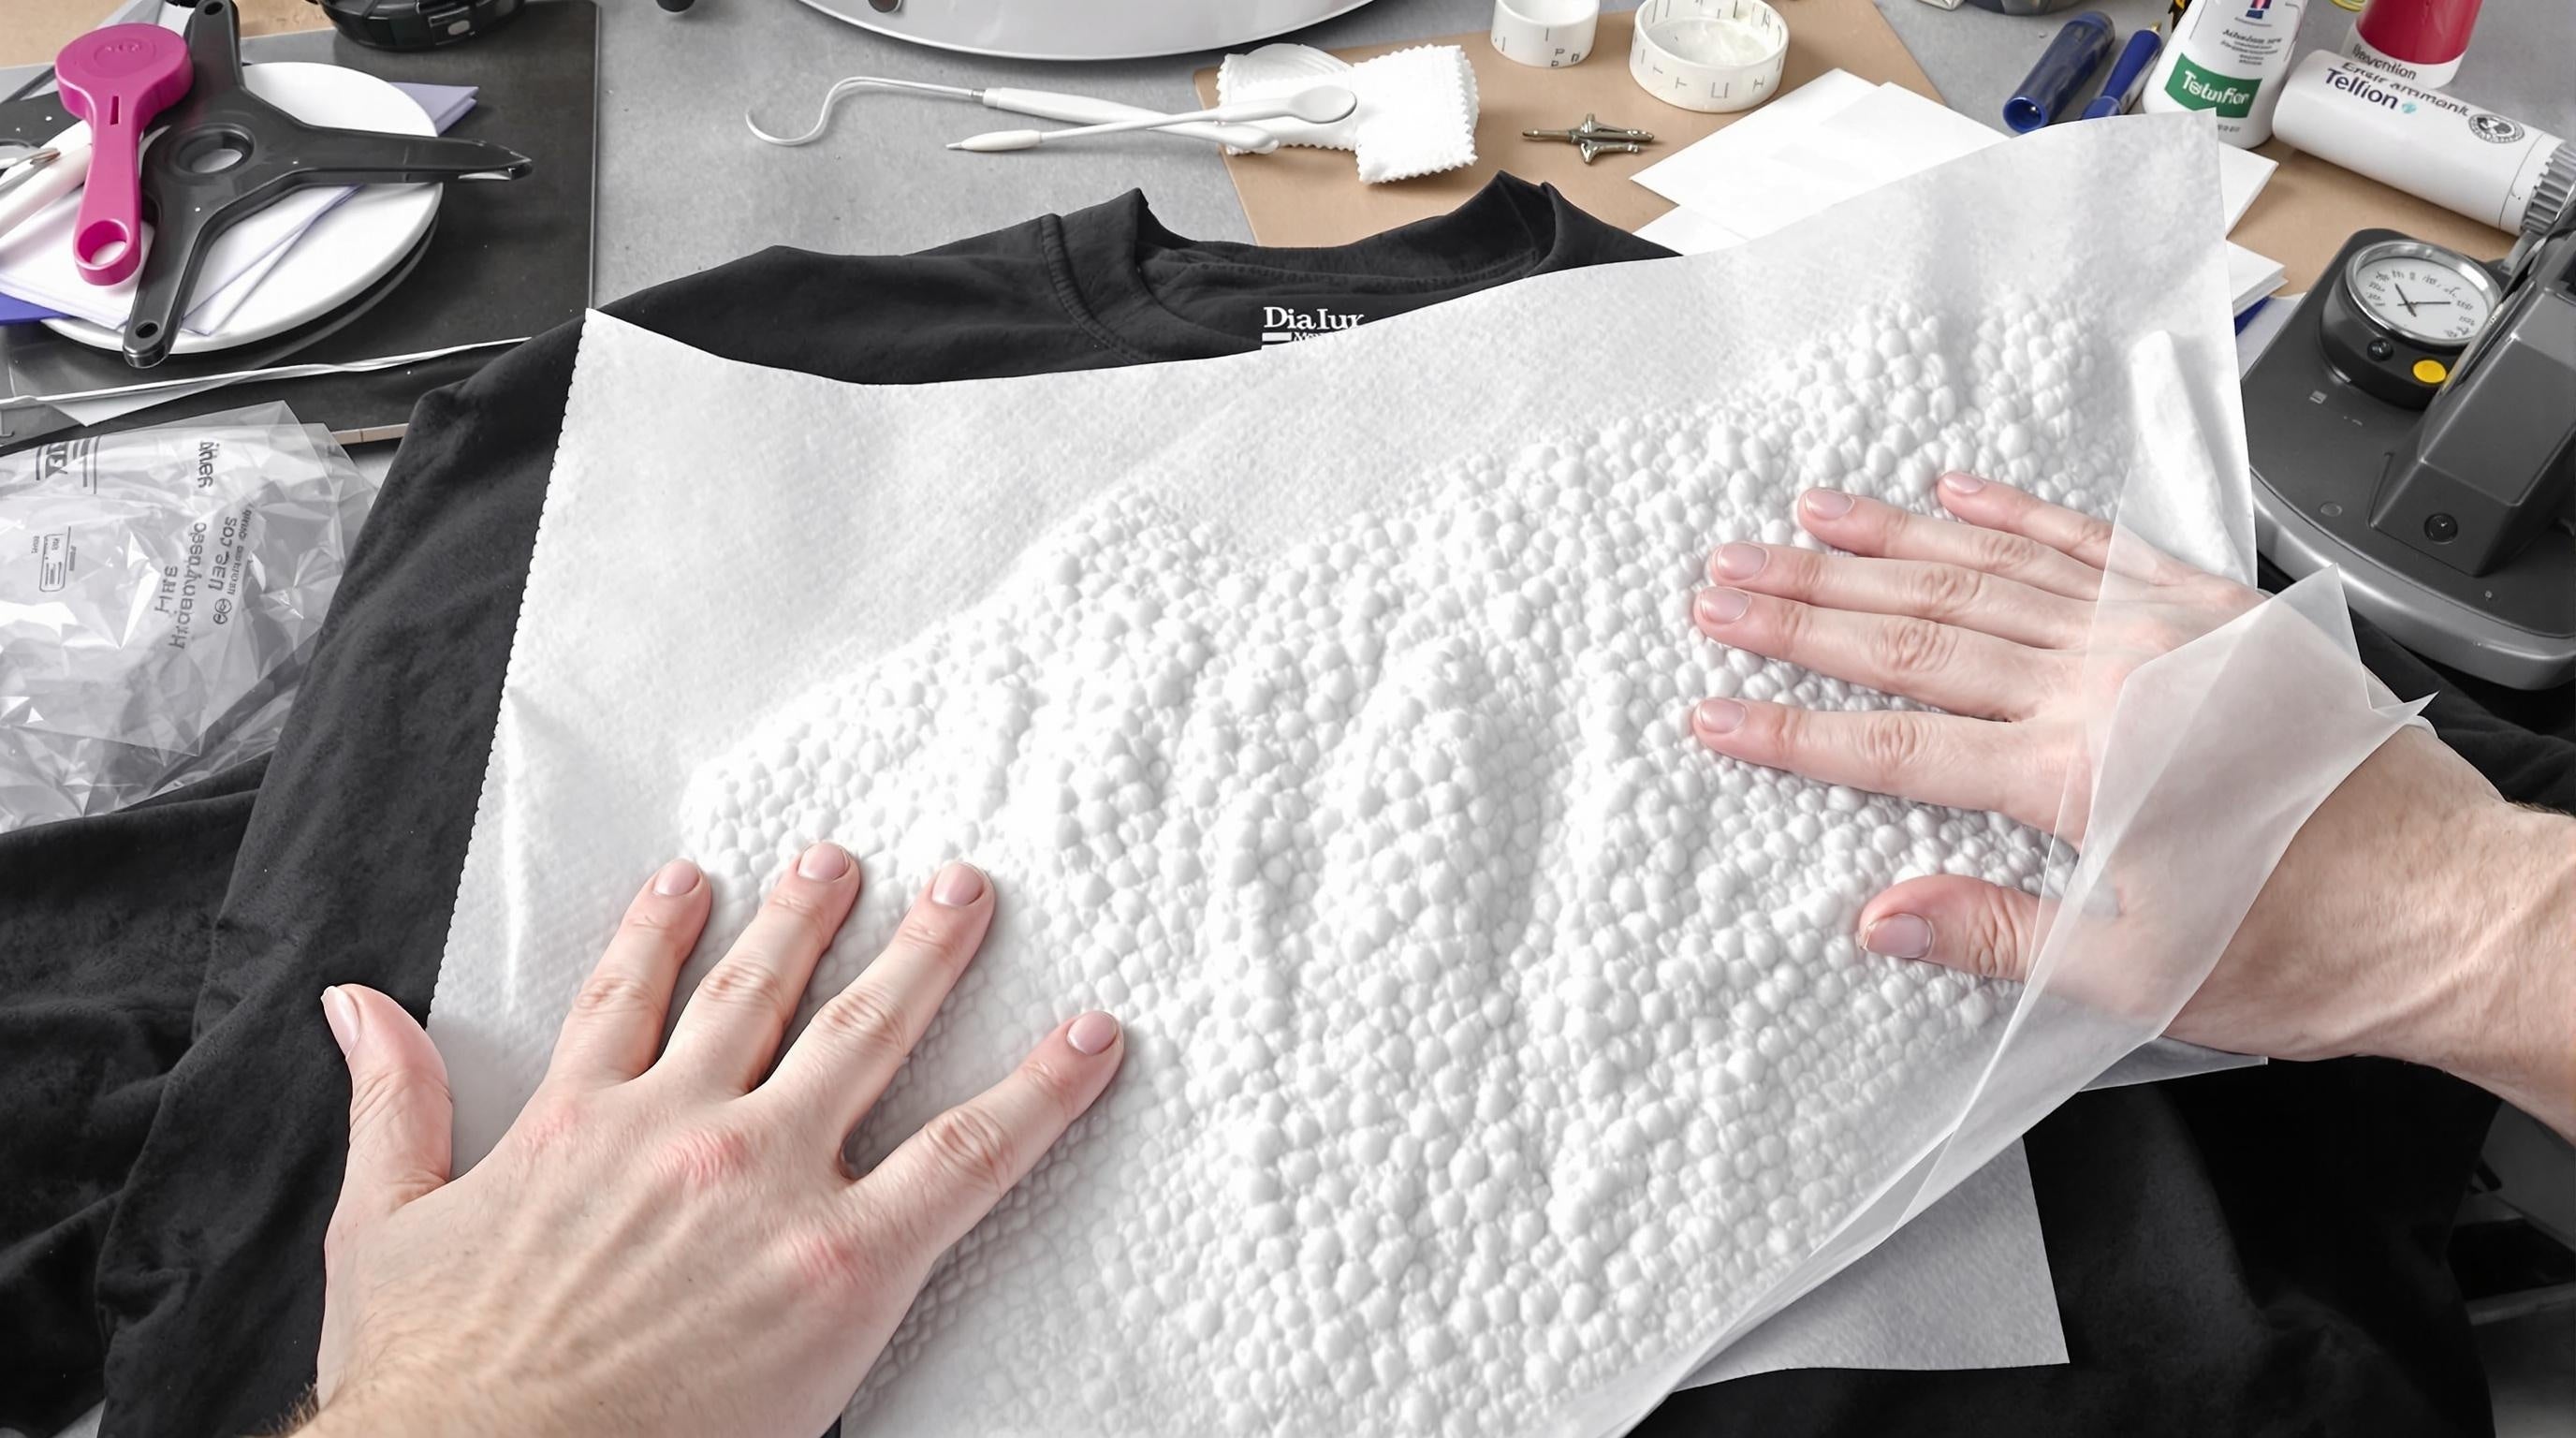
Put a heat transfer sheet on top of your design before pressing. This cover helps spread heat evenly when you press for 10 seconds with medium pressure.
Peel while hot to make the design puff up.
Heat Press Application Steps
Setting up your heat press the right way is key to getting good results with Siser Puff vinyl.
Before you start, make sure your machine is heated to 280°F (138°C) to make the vinyl stick properly.
Follow these basic steps:
- Put your design right in the middle of your material, making sure it's lined up correctly.
- Cover the design with a protective sheet to keep it from touching the heat press directly.
- Press down with medium force for 10 seconds to make the design puff up.
- Peel off the backing sheet right away while it's still hot to keep the raised look.
Using these steps will help you get good, even results with Siser Puff vinyl, creating the raised look that makes this material special.
Maintenance and Care Guidelines
To keep your Siser Puff vinyl designs looking good, follow these care steps.
Wait 24 hours after applying the design before washing it for the first time. This helps the design stick well to the fabric.
Always wash items with puff designs inside out and use cold water. Don't use fabric softeners because they can make the vinyl peel off.
When drying, use low heat in the dryer or hang the items to dry. Too much heat can make the puffy design become flat.
The puff effect may slowly get less noticeable after many washes.
To help your designs last longer, hanging them to dry works best to keep the raised, puffy look of the vinyl.
Frequently Asked Questions
How to Apply Siser Easy Puff Vinyl?
Cut design backward, heat to 280°F, press garment quickly to warm it up, place vinyl where you want it, push down hard for 10 seconds, then pull off clear backing right away while hot to make the vinyl puff up nicely.
What Are the Best Settings for Puff Vinyl?
For best puff vinyl results, heat to 280°F. Cut with Iron-On settings and keep the glossy side facing up. Press down firmly for 10 seconds, then quickly pull off the backing while it's still hot.
What Side to Cut Siser Puff Vinyl?
Cut Siser Puff vinyl with the glossy side up on your cutting mat. Remember to flip (mirror) your design before cutting to ensure it transfers correctly.
What Pressure Should I Use for Puff Vinyl?
Start with medium pressure when working with puff vinyl. Press down firmly and evenly across your design for the best results. If something looks wrong, try a few test pieces first to find the right pressure setting.
Conclusion
Mastering Siser puff vinyl techniques requires attention to precise temperature settings, proper weeding methods, and careful application pressure. At Perfecpresshtv.com, we've found that success depends on maintaining clean equipment, storing materials correctly, and following manufacturer guidelines. When done right, puff vinyl creates eye-catching raised designs that make garments stand out. Regular practice with these basic techniques leads to great results that look professional. Our DTF Transfer Store stocks quality materials to help you achieve these dimensional effects consistently.