
Heat Transfer Vinyl is an excellent solution when wanting to do 1 or 2 color designs, but occasionally you’ll need to complete a job that calls for 3 or more colors, gradient hues, or even photographs. Solid color HTV suddenly becomes a nightmare for these sorts of designs, which makes you want a printer. The problem is, Solvent Printers and Screenprint Transfers can require expensive equipment or have expensive setup costs for low quantity runs.
Well, Inkjet Transfer Papers are your solution. With the addition of any standard inkjet printer (available at any office or computer/electronic retailer) to your setup, you can get printing and pressing at a fraction of the cost. Granted, certain inkjet printers are better than others…
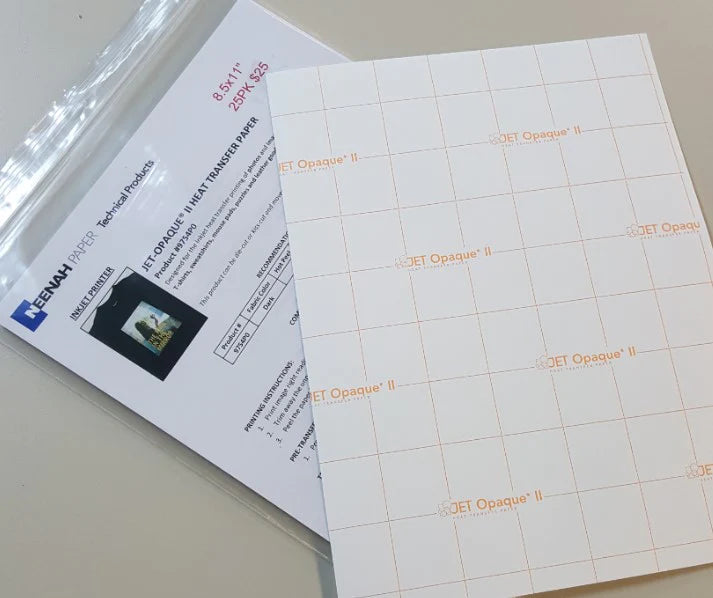
JSI sells two types of inkjet transfer papers: The Neenah Jet-Pro SofStretch (for light garments) and the Neenah Jet-Opaque II (for dark garments). They both are a two ply paper that has a carrier sheet (the backing), and the transfer vinyl (the film). First, we’ll start with the Jet-Pro SofStretch papers.
JET-PRO SOFSTRETCH

The Jet-Pro SofStretch Papers are not only super soft, super thin, and stretchable…they’re also the cheaper option out of the two. However, because it’s super thin, the material is absolutely transparent…making it unsuitable for black garments or other color garments. The material is a two ply material where you print on the adhesive side of the material, then flip and transfer the paper to the garment. Because you print on the adhesive side of the material, you must mirror your images before printing them out. See below how the paper is plied:

Because the Jet-Pro SofStretch is transparent, you have three options. You can contour cut the design using a vinyl cutter that has an optical eye (this gives you the best results), you can trim around the paper with scissors, or you can simply press the whole page to the shirt.
Below, you can see a design where the whole sheet was pressed to the shirt, and at the end is a close up picture of where the material stops and the shirt begins.
As you can see, it’s generally hard to tell where paper is pressed to the shirt visually on white shirts. However, physically you can definitely tell that there is film on the shirt from where the image was not trimmed out. Because of that fact, trimming out the image with scissors or an art knife will typically be fine as any white space that you may leave won’t be noticeable on the shirt. However, if you wanted to do it perfectly, you could always contour cut the design.
If you’re unsure what contour cutting is, it’s the process of cutting your print job with your vinyl cutter. To do this, you’ll need a vinyl cutter that reads print registration marks. The Silhouette Cameo is well known for being a cheap vinyl cutter that has this capability. The GCC Expert LX model and Graphtec CE6000 also have this capability.
When designing your design, you’ll add a cut line around your print and then add your print registration marks through the software. Once you print the image, you’ll have your design with what are typically 4 right angle marks at each corner of your design as shown below.


Once printed, you apply the paper to a carrier sheet and feed it through your cutter to first read the print registration marks. After it reads, it’ll go back and cut the contour cut line around the image you’ve designed it around. You then peel out the backing away from the paper and you should then have a design that you can press without the whole sheet applying.


While this process generally results in a perfect looking final product AND a better feeling one, it’s not as necessary as the process is with the Jet-Opaque II papers.
JET-OPAQUE II
As the name suggests, the Jet Opaque papers are actually an Opaque paper designed to prevent color from coming through from the shirt. To achieve this effect, the product is also not as soft or stretchable as the Jet Pro SofStretch… but it is capable of being pressed on any color garments or black shirts without color bleed.
The differences don’t stop there either. While the material is also on a carrier paper just like the Jet-Pro, the surface side of the material is the printable side while the adhesive side is pressed against the carrier.
For that reason, when printing, you actually print right reading on the surface side, and peel the design off the paper to put down on the shirt face up.
Unfortunately, since the paper is opaque, the reason for contour cutting your design becomes exceptionally apparent. See below what happens when you attempt transferring the whole sheet to the shirt without cutting it.
As you can see, the whole area where the design wasn’t printed transferred immediately over, creating a large white square on the shirt with the print on it. Trimming your design with scissors also becomes a bit of a problem as any errors in cutting it perfectly become perfectly clear with pressing on the shirt. Contour cutting (same steps as above) is where the best results are going to come from.


Incidentally, peeling designs like these can sometimes cause things to be difficult. Instead of peeling via your hand (especially if you have a multi-piece design), you can also use HTV transfer tape to transfer your design from the paper to the shirt. We sell both Rhinestone Transfer Tape and TTD EasyMask that will allow you to easily do this.
Incidentally, we ran one additional test to show why you’ll want to use Jet-Opaque II on dark color shirts as opposed to being tempted to see what results you can get out of the Jet-Pro SofStretch. On the top, you’ll see how the Jet-Pro looks like on a white shirt. Below, you’ll see the same exact print on the same exact paper… but on a black shirt.

filed under: Blogs, Desktop Printing Papers